I recently reinstalled my main desktop computer, and decided to finally give "Bash on Windows 10", or the "Windows Subsystem for Linux", a real try. I'm hoping it will get rid of my need for Putty/WinSCP as well as allow me to do more development work locally on my Windows machine instead of through ssh (not that there is anything wrong with using vim over ssh.)
Installation
Installation was very simple. I am not subscribed to Windows Insiders builds, so I followed the relevant instructions on the MSDN Installation Guide. In short:
-
Enable the Windows Subsystem for Linux:
Enable-WindowsOptionalFeature -Online -FeatureName Microsoft-Windows-Subsystem-Linux -
Reboot if prompted.
-
Enable developer mode under Settings -> Update and Security -> For developers.
-
Open a command prompt and run
bash; press y to install Ubuntu. Create a new user when prompted. -
Open another command prompt and run
bash -
Update Ubuntu:
sudo apt-get update && sudo apt-get upgrade -
Install a few optional "essentials":
sudo apt-get install git rsync vim gnupg2 silversearcher-ag curl
If you are running the latest Windows Insider build, then you can skip steps 3-5, and install Ubuntu from the Windows Store instead.
A Better Terminal Emulator (Cmder / ConEmu)
Running bash inside of a command prompt or powershell window is not very pleasant. After looking around, I settled on using Cmder as my console emulator. It uses ConEmu, but manages to make it look prettier as well as offering additional features.
Download the latest release somewhere; I'd recommend the cmdr_mini version as it is much smaller and you shouldn't need the git-on-windows extras. In the settings, add a new task named bash and set the command to:
%windir%\system32\bash.exe ~ -cur_console:p
I also set the task to be the default for new consoles, as well as going to the startup tab and choosing bash as the specified task to start. I'd also recommend going into the keyboard shortcuts and deleting the shortcut for ctrl+w and any other hotkeys you normally would use.
It isn't anything too fancy, but does feel closer to xterm or iterm compared to putty.
Sharing keys between Pageant and ssh-agent
One of the first things I did after configuring cmder was to generate new keys with ssh-keygen since I assumed I wouldn't be able to re-use my keys in pageant.
After some research though, I found weasel-pagent which provides a "ssh-agent compatible helper for interacting with Pageant from processes running on the Windows Subsystem for Linux."
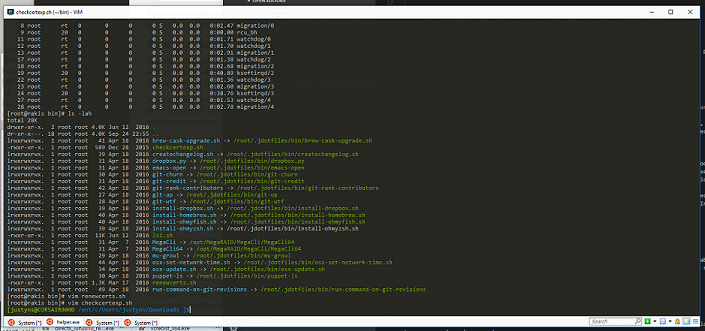
To install it, download the latest release and unzip it somewhere (from within Windows, not the WSL.) For testing, I just left mine in the Downloads directory.
Once extracted, add this in ~/.bashrc (change the path to weasel-pagent as needed):
eval $(/mnt/c/Users/justyns/Downloads/weasel-pageant-1.0/weasel-pageant -r -a "/tmp/.weasel-pageant-$USER")
Make sure you already have pageant running in Windows, but it doesn't matter if you have added keys yet. Once running, create a new shell or just source your changes with source ~/.bashrc.
If you've already added keys, running ssh-add -l should list them.
GPG / Yubikey smartcard
Update 2019/07/14: I wrote a separate article, Yubikey in Window's 10 WSL, that explains how to get Yubikey gpg support working in WSL.
One thing I have not solved yet is being able to use my Yubikey for gpg and ssh authentication. In the version of WSL installed currently, there is no USB support. It looks like this was added recently. That article only mentions usb storage devices though, so I'm not positive that it would add support for using smartcards.
For SSH auth, it should still be possible to follow Yubikey's Guide to set up GPG4Win and pageant. Weasel-pageant should work fine when used this way, but I have not tested it yet. I will probably set it up for ssh, but it would not fix normal gpg usage. As a short-term solution, I'll likely just create a new subkey for use inside of the WSL system.